Appearance
Bills
The amount you owe your suppliers for the items or services you purchase from them is shown on a bill.
Creating a New Bill
To create a bill,
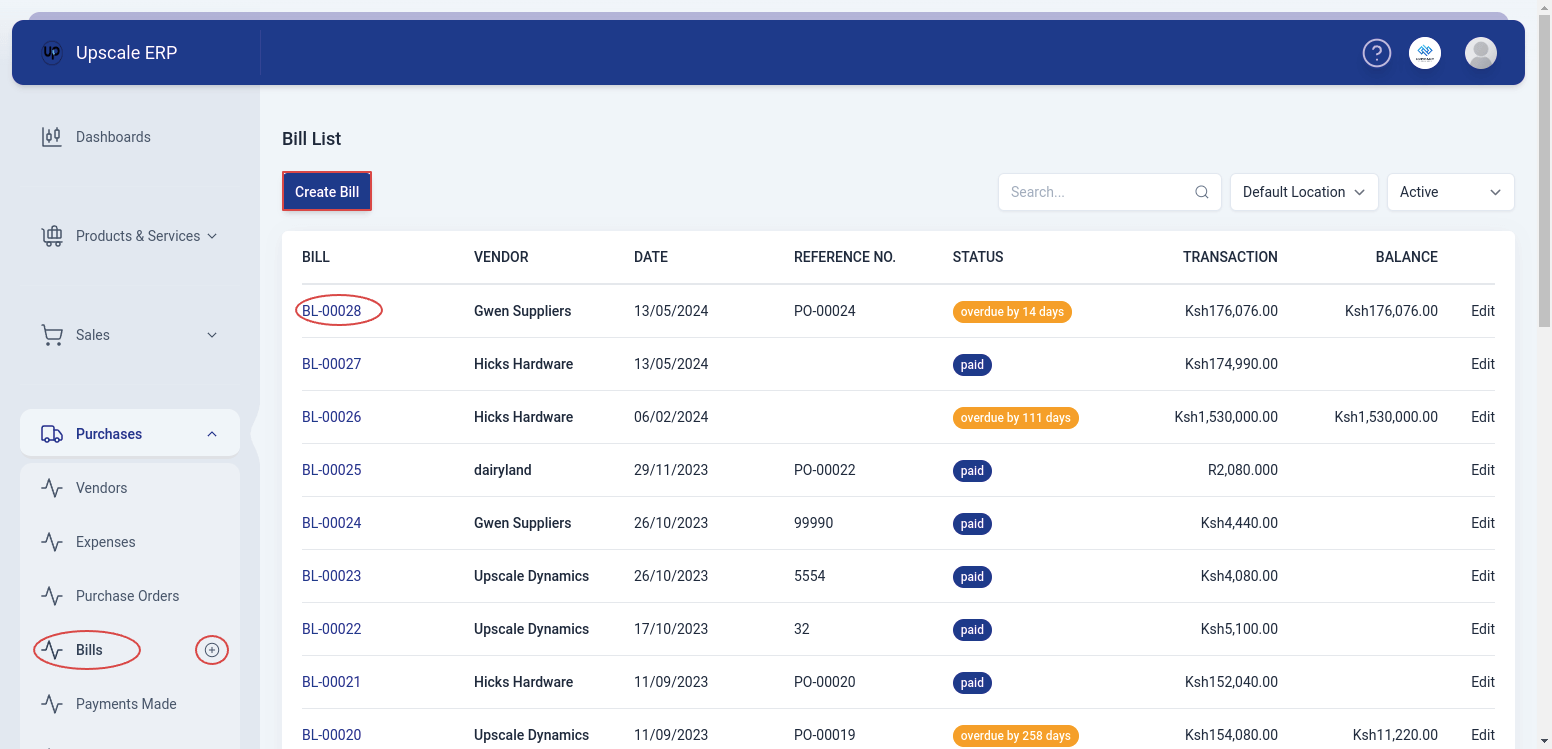
Navigate to the Purchases module on the sidebar, and click on the 'Bills' section.
Click on the 'Create Bill' button at the top-left of the bills list page.
TIP
Alternatively,a shortcut that can be used is to click on the plus sign next to 'Bills' on the side bar and it will take you to the create page.
When you get to the "create" screen, select a branch and vendor, fill in any other required details.
When you're finished, click 'save' button at the bottom of the page. Alternatively, you may select 'save as draft' from the dropdown menu if you want to finish the bill at a later time and the status will show draft.
Fields found in the Bill Create Page
| Field Name | Description |
|---|---|
| Branch | Branch in which the bill was made. |
| Vendor | Select the vendor whose bill you’re recording. |
| Bill# | Unique bill number. |
| Bill Date | Date which bill is created. |
| Payment Terms | Terms of payment agreed upon by the vendor and the customer. |
| Reference No# | Unique identification number assigned to bills in Upscale ERP. |
| Due Date | Due date for bill payment. |
Viewing a Bill
To view a bill,click on the bill # on the bill list page and that will take you to the bill details page. 
The view page has a number of sections that include:
- Vendor Details section
This section contains vendor contact information and the credits available for that vendor for example Name, Phone Number and Email
Applying Credits
This option appears when you have created vendor credit for the particular vendor.In the vendor details section,you can see the 'Credits Available' and you can apply those credits to a bill.To apply credits,
- Click on 'Apply Credits'
- Choose a vendor credit transaction to apply credits to.
- Input the credit amount, or you could choose the option 'Credit in Full' to pay the balance in full. The amount cannot be more than the bill balance.
- When done, click on 'Apply Credits'.
- Transaction Details
Summary overview of the details of the bill transaction.
- Payment Details section
This section contains information about the payment ,for example,the tax on the goods,subtotal and grandtotal.
- Item Details Table
Table that displays a list of items on the bill,their quantity and amount.
- Payments Made Table
Table that tracks payments received for the specific bill.
- Credits Applied Table
This section shows the credits that have been applied to the bill.
- Associated Vendor Credits Table
This section shows the vendor credits that have been associated with the bill.
The View Page Features

The bill view page has a number of features that include:
- New Feature
This feature simply lets the user to create a new bill.
- Edit Feature
The edit feature lets a user to change details of an already existing bill.
- Print PDF
Print PDF lets a user to download a copy of the bill to send to the customer.
- Create Vendor Credit
For every bill, vendor credits can be created. All of the items on the bill will be included in the vendor credit when you do this. This feature makes this process easier and more efficient.
Deleting a Bill
To delete a bill,go to the bill view page,click on the downward arrow and select 'Void bill',if sure about deleting the bill,click ok. The status of the bill will change to void.